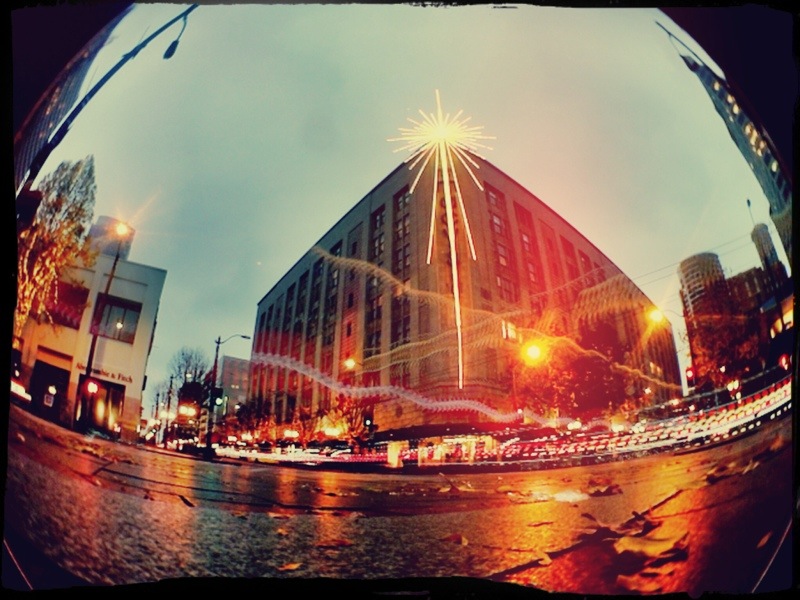
The Macy’s star shines brightly over Westlake Plaza, downtown Seattle.
How did I get this shot with my iPhone? Thanks for asking, here’s how.
I used an app called Slow Shutter with a fisheye lens from Photojojo on my iPhone 4, leaving the lens open for 15 seconds to get the photo.
Afterwards, I fired up Photoshop Express, bumped the exposure up fully 2x and saved a “lighter version.” Opened up the original again in Photoshop Express and dropped the exposure by about half. Saved that “darker version.”
Next app up, Pro HDR. Brought in both images and made an HDR composite, fine tuning saturation and brightness a bit.
Last up? Pxlr-o-matic for a bit more color correction and border. This app is the money maker. There are quite literally thousands of different combos to with through. So many great filters, borders, and additional bits of texture and flair. Really one of the best apps out there for tweaking iPhone photography.
Now I’m using WordPress for iPhone to make the post. Shortly hereafter I’ll fire up Short Url to get my bitly address to throw in to, you guessed it, Facebook mobile.
That’s the standard run through on photos that show up in the blog. More often than not, they’re touched up here and there. The iPhone photography applications above are the usual suspects … those and Best Camera which has some phenomenal super easy effects. Just be sure to get into the options and add in all the “half-step” filters so you can do 50% candy or 50% gray. Works out so much better.

